Want to get instant notifications from IrisCX right inside your Slack workspace? 🎉 With Slack incoming webhooks, you can make IrisCX updates show up in your chosen channel—so your team never misses a beat! 🚀
🔑 Step 1: Create a Slack App
-
Head over to the Slack API apps page.
-
Click Create New App ➕.
-
Select From Scratch and give your app a name like IrisCX Alerts 🤖.
-
Pick the Slack workspace where you’d like notifications to appear.
⚙️ Step 2: Enable Incoming Webhooks
-
In your new app’s settings, select Incoming Webhooks from the left menu.
-
Toggle the switch to On ✅.
-
Click Add New Webhook to Workspace.
-
Choose the channel where you want IrisCX notifications delivered 📢.
-
Hit Allow.
📋 Step 3: Copy Your Webhook URL
-
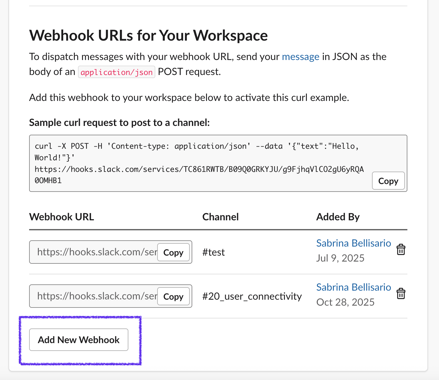
Slack will generate a Webhook URL that looks like this:
https://hooks.slack.com/services/T00000000/B00000000/XXXXXXXXXXXXXXXXXXXXXXXX -
Copy this URL—you’ll need it for IrisCX 🔗.
⚠️ Keep it safe: Anyone with this link can send messages to your channel.
🛠️ Step 4: Send the Webhook URL to Your Customer Success Manager
Instead of pasting the URL directly into IrisCX yourself, simply share it with your IrisCX Customer Success Manager 👩💼👨💼.
-
They’ll enable the integration inside your IrisCX workspace.
-
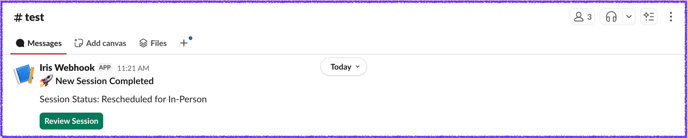
Once enabled, they’ll send a test message to your Slack channel to confirm that everything is working as it should ✅.
🎉 You’re All Set!
Now your Slack workspace is fully synced with IrisCX 🚀. Every time something important happens in IrisCX, your team will know right away—no extra clicks required.
🧭 Step-by-Step: Creating a Second Slack Webhook
-
Go to your Slack app settings
-
Visit: https://api.slack.com/apps
-
Select your app (e.g. Your Company_Webhook).
-
-
Enable (or open) Incoming Webhooks
-
In the left sidebar, click “Incoming Webhooks” under Features.
-
Make sure the toggle at the top is turned ON.
-
-
Add a new Webhook
-
Scroll to the “Webhook URLs for Your Workspace” section (like in your screenshot).
-
Click “Add New Webhook to Workspace”.
-
Choose the Slack channel you want the webhook to post to (it can be a different one than before, e.g.,
#alerts,#support, or#test2). -
Click “Allow”.
-
-
Copy the new Webhook URL
-
After authorizing, you’ll be redirected back to your app’s settings page.
-
You’ll now see an additional Webhook URL listed under “Webhook URLs for Your Workspace.”
-
Copy that new URL — this is your second webhook.
-