ICwhatUC allows our customers to provide scheduling functionality from their website. This creates the opportunity for your end-users to schedule time with one of your technicians in the future.
This functionality has been built through a 3rd party web tool called Acuity Scheduling, who is a market leader owned by Squarespace.
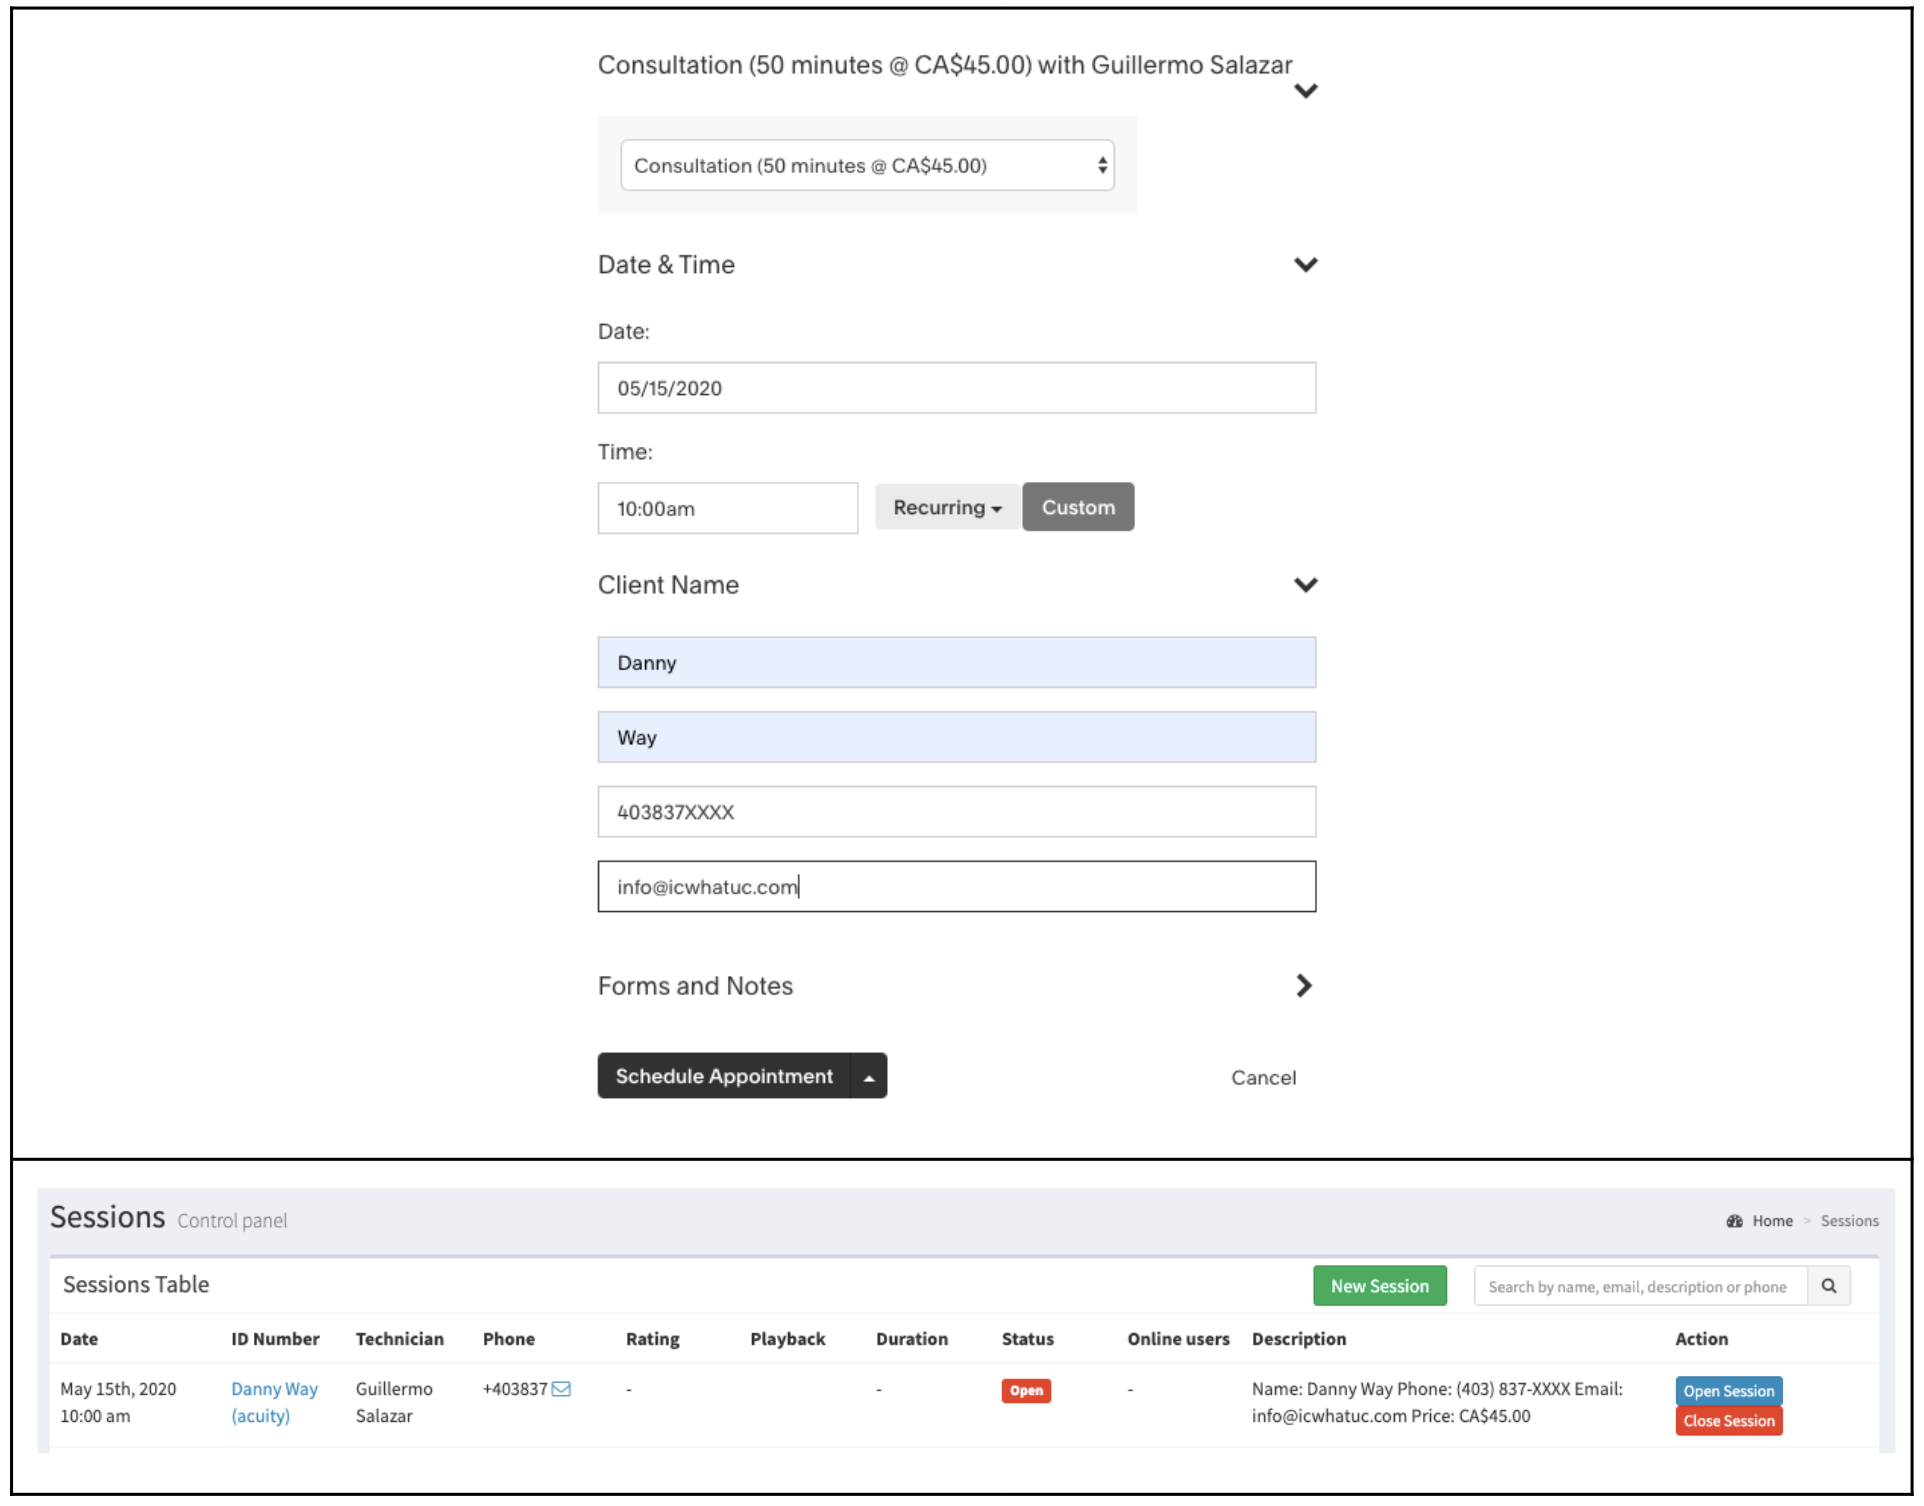
When a booking is made through the Acuity calendar system, an ICwhatUC session is automatically created between the technician and the end-user. When this session is made, it triggers the same event sequence as if it was done manually, including notifying the technician of the session, and texting the end-user.
Complete the following steps to enable your end-users to scheduling ICwhatUC sessions with technicians in the future:
Step 1 - Create Account
Go to Acuity Scheduling (https://www.acuityscheduling.com/) and create an Acuity Account. You will need to upgrade to the “Powerhouse Player” subscription to support the API.
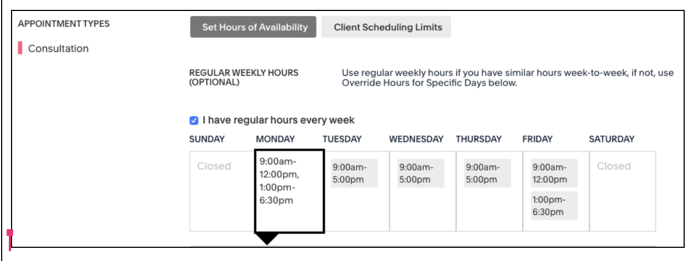
Step 2 - Availability
Enter the availability you will support:
Step 3 - Appointment Types
Create the type of appointments you will support, and what they will cost.
 |
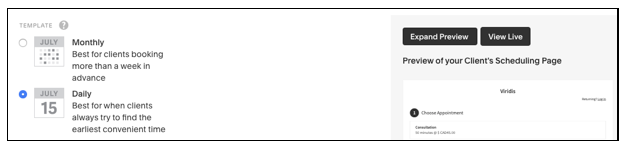
Step 4 - Appearance
Choose how your schedule will appear online.
Step 5 - Add to Website
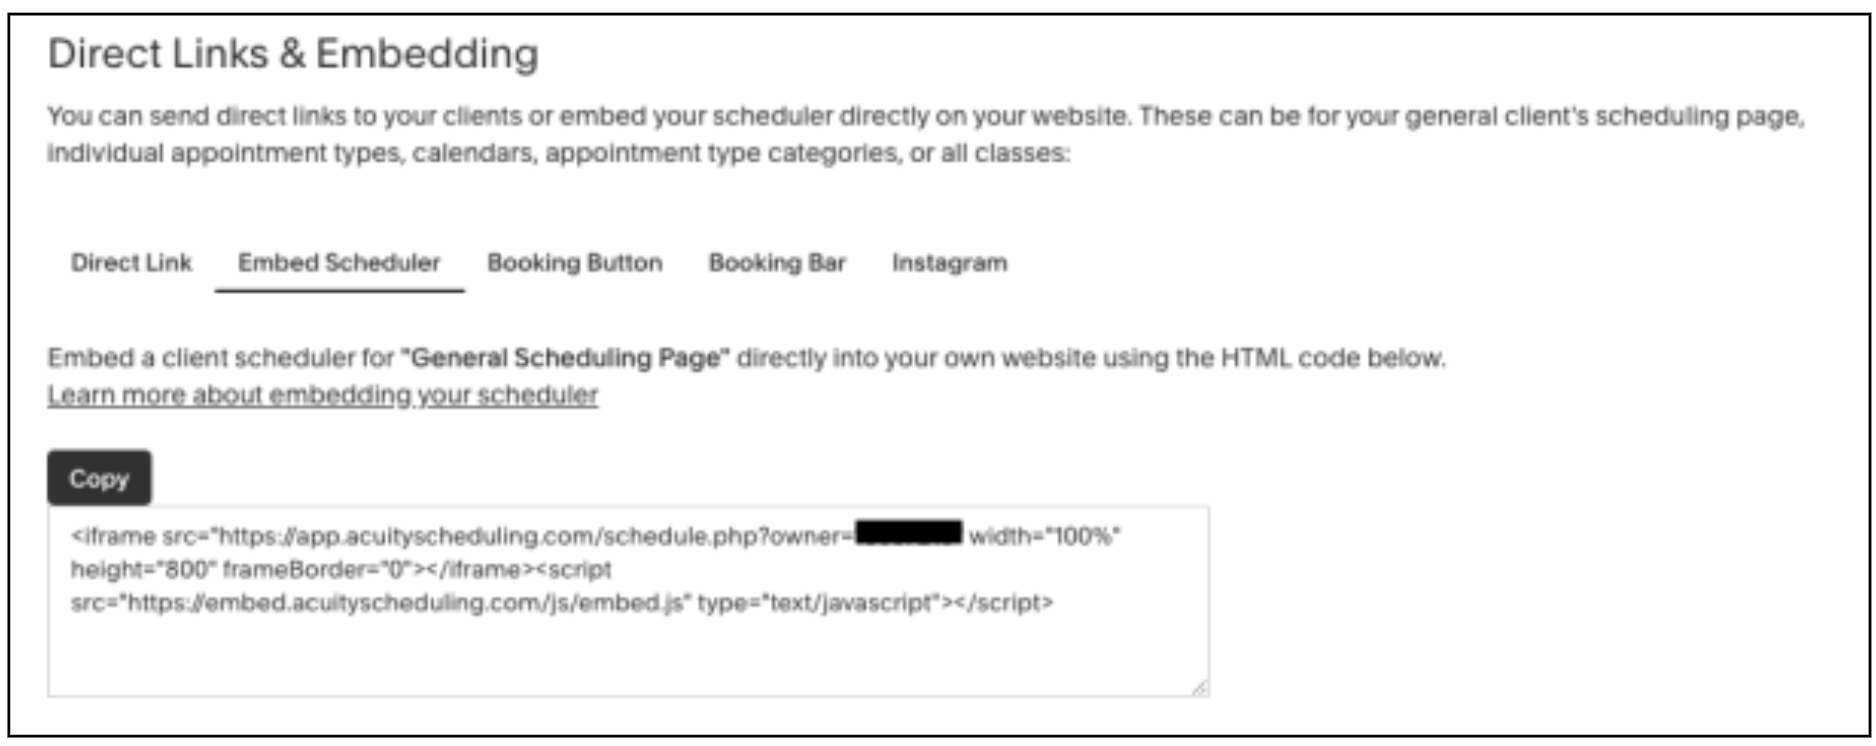
Add Acuity Scheduling to your webpage. Once your account is created and set up, go to https://secure.acuityscheduling.com/admin/scheduling-link, scroll down to the “Direct Links & Embedding” section, and copy either the “Embed Scheduler” or “Booking Button” code into the website code on the page where you would like the Acuity Schedule to appear.
Step 6 - Verify User Accounts
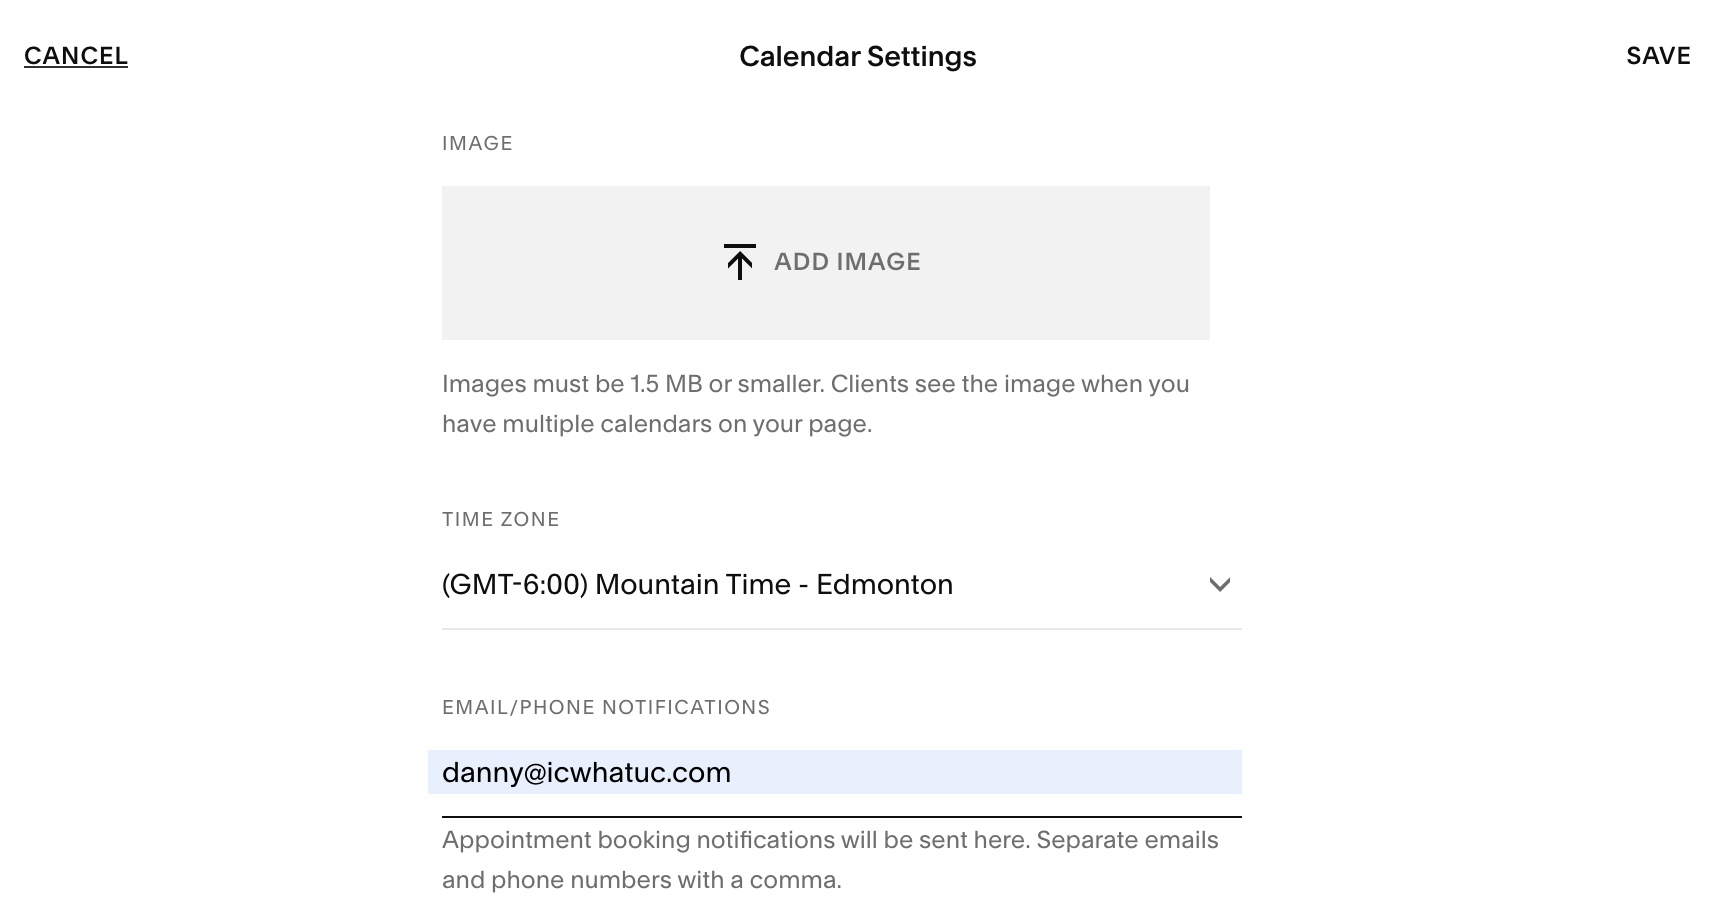
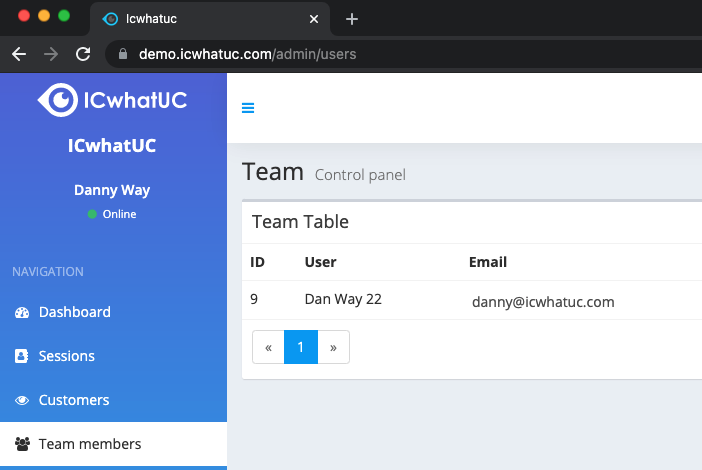
In order for the integration to create sessions that are assigned to the right user in your ICwhatUC workspace, you need to verify that the same email is used in (1) the Acuity calendar and (2) the ICwhatUC workspace.
In Acuity, navigate to Availability, then Calendars. Choose the Calendar Settings for the calendar you want to link to ICwhatUC. Verify that a valid ICwhatUC account email is stored in the "Email/Phone Notifications" settings.
Step 7 - Setup ICwhatUC
Log in to your ICwhatUC workspace as the Administrator. On the left hand side, choose ICwhatUC Settings, and click on the “Integrations" button. Select the Acuity Scheduling button.
 |
 |
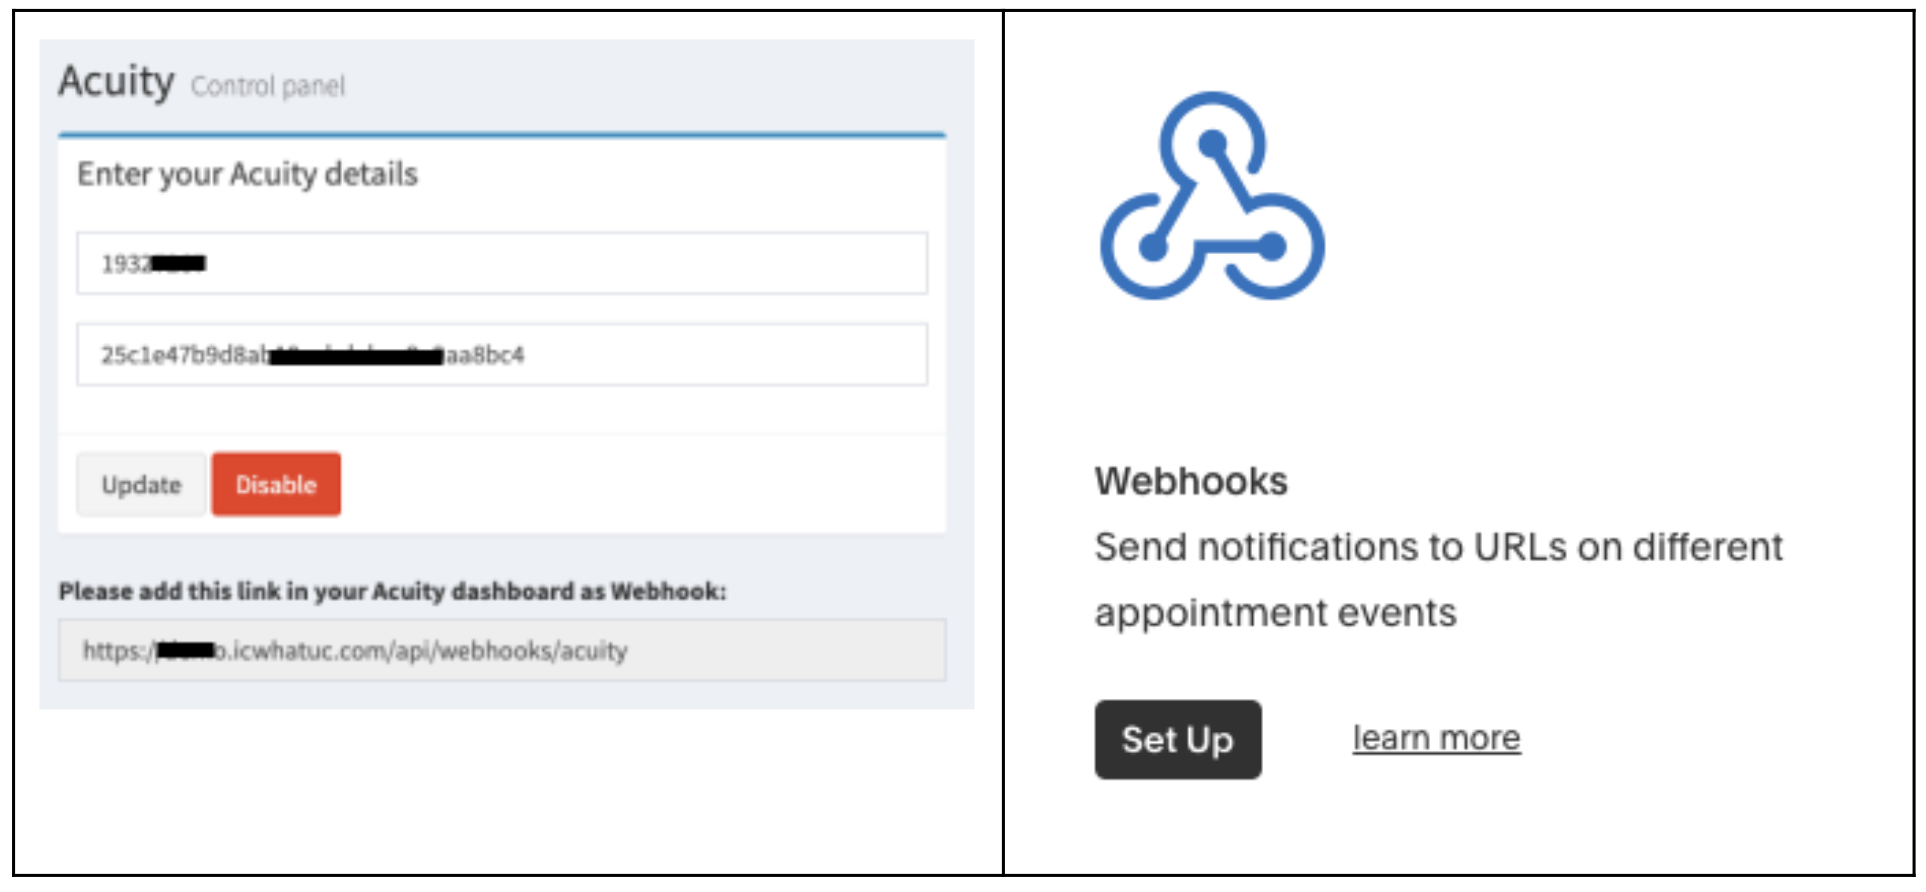
Open Acuity Scheduling. On the left hand side, choose “Integrations” under “Business Settings”. Scroll down to API, and select “View Credentials”. Copy the “User ID” and the “API Key” into the ICwhatUC Acuity details, and press “Save”.
 |
 |

Once you have successfully added the User ID and API Key to ICwhatUC, ICwhatUC produce a link that then needs to be added to Acquity’s Webhooks. Go to your Acuity account, log in, and go to the “Integrations” area on the left side of the screen. Scroll down to “Webhooks”, and press Set Up. Copy the link from ICwhatUC into the following fields:
- NEW APPOINTMENT SCHEDULED
- APPOINTMENT RESCHEDULED
- APPOINTMENT CANCELED
- APPOINTMENT SCHEDULED OR UPDATED (CATCH-ALL)
- ORDER COMPLETED
At this point, the integration should be set up properly, and the Acuity Scheduling integration in ICwhatUC should now be active:

Step 9 - Create a Test Appointment
In order to create a test ICwhatUC call, log into Acuity, create a new appointment, and verify the corresponding ICwhatUC Session has been created