
This article will teach you how to create and upload guides in your workspace. To upload a guide, you will need to be an organization admin.
There are two ways to set up guides in your workspace. We recommend building them within your workspace if they are 10 steps or less. Otherwise, you can download a CSV file, create your guides in Excel/Sheets, and upload them to your workspace directly.
- Building guides within your workspace
- Building guides in a CSV
- Setting default guides
- Previewing guides in your workspace
Building guides within your workspace
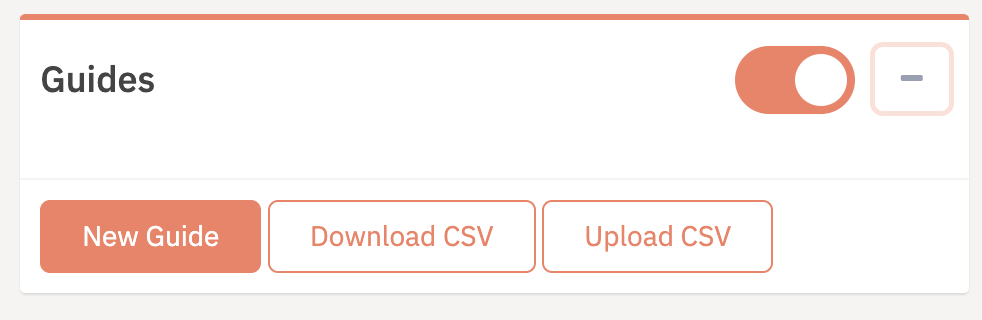
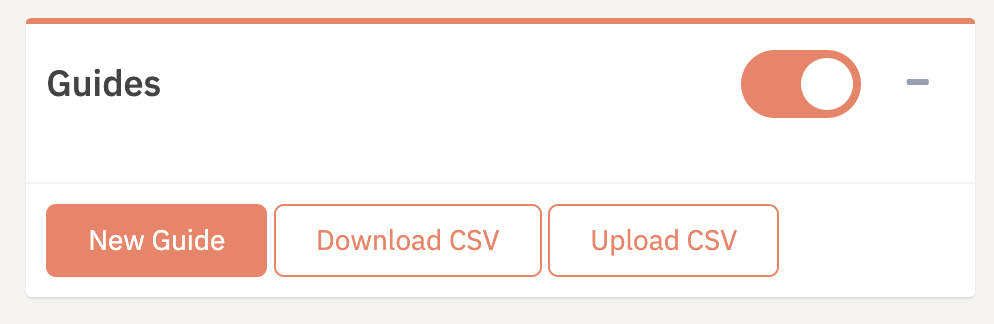
Navigate to Settings > Guides within your workspace. If you have any previously uploaded guides, they will be listed here.
Note: Guides will need to be turned on using the toggle shown below for them to appear when you start a new session.
Select the New Guide button.
A pop-up will appear where you can start to add your guide steps.
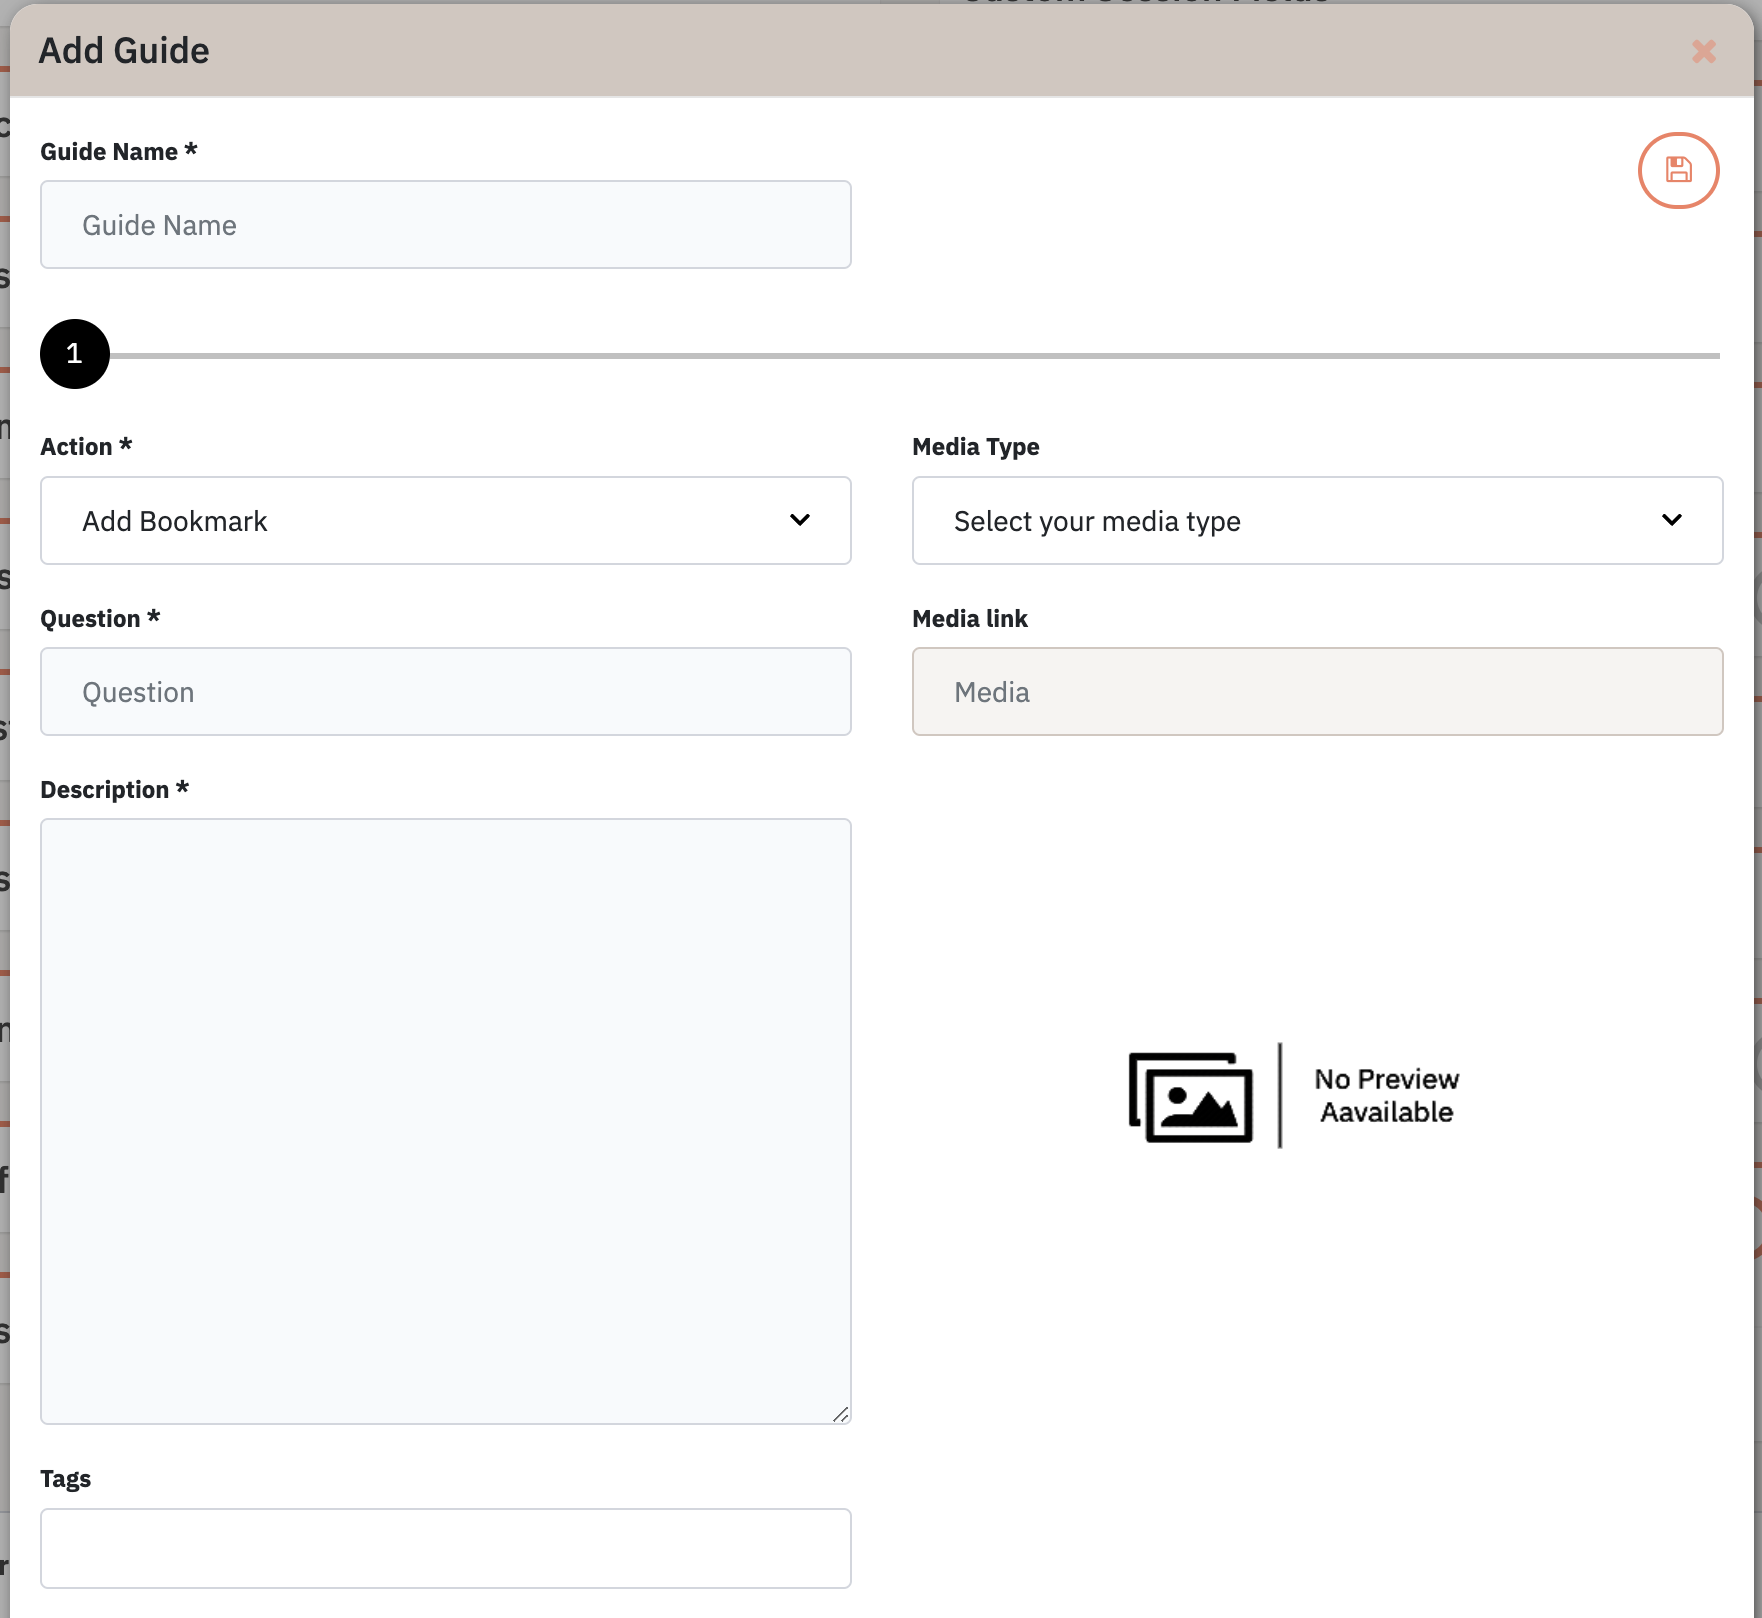
Guide name will be the overall name for the guide.
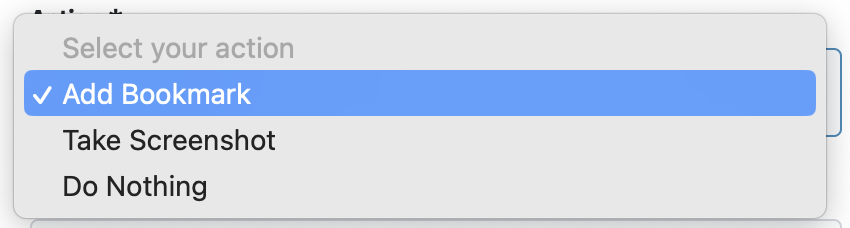
Action will dictate what will happen when the customer or service expert checks off the step. You can choose to add a bookmark, take a screenshot, or do nothing.
You can see in the image below how the question and description will appear.
We recommend keeping your question to 30-40 characters and description to 50-70 characters to ensure it doesn’t take up the entire screen on a mobile device.
To add a tag at the moment the step is completed, enter the tag text without spaces in the field provided. Add a comma between tags to add more than one.
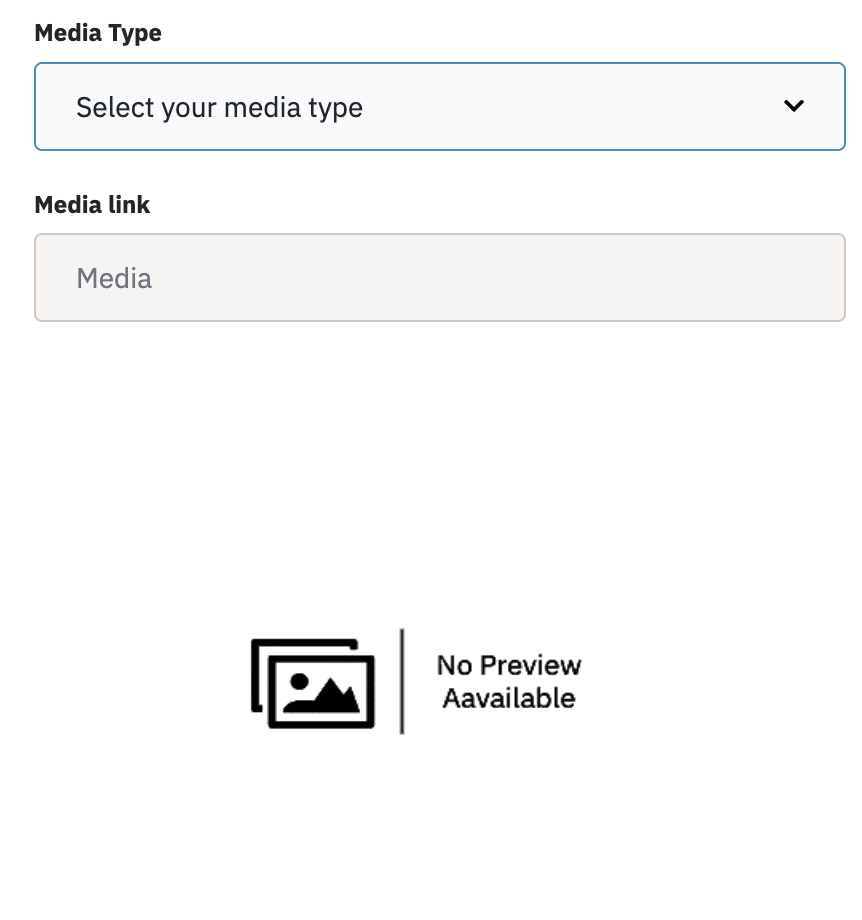
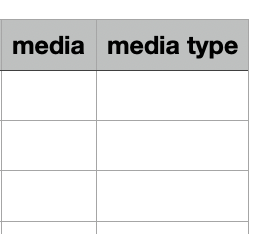
You can add an audio, video, or image file by linking to the webpage where it is hosted on its own. Just select the media type from the drop down and add the media link in the field provided.
You can add a new step by selecting the + button. You can save or delete steps at any time by selecting the corresponding buttons.

In order to save the guide, select the save button in the top right corner.
Building guides in a CSV
We recommend building multiple guides in a CSV and uploading them to your workspace as it’s easier to have visibility over the content within a spreadsheet.
Organization Admins can download a CSV by navigating to the Settings > Guides section of your workspace and selecting the Download CSV button.
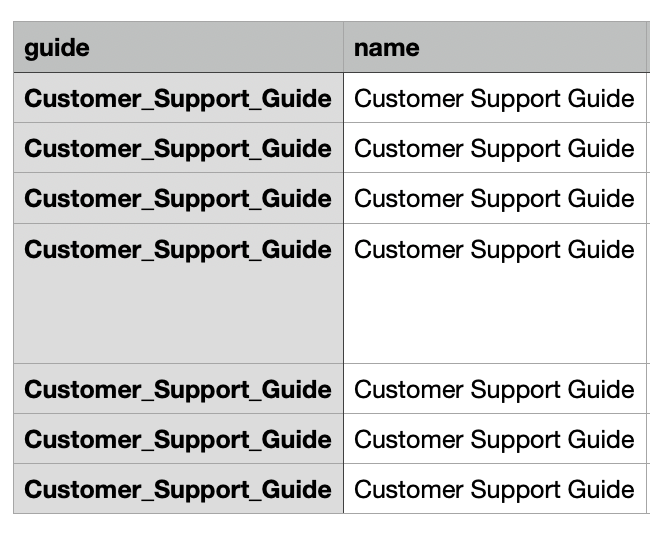
A CSV file will download with the correct fields at the top of the page. If you have guides in your workspace already, those will download as well.
Do not delete the existing guides. If you don’t need to make any changes to an existing guide, leave it as is. Whatever is in the CSV you re-upload to your workspace will be used as the guides going forward.
The fields will be the same as the steps above.
Guide name will be the overall name for the guide. There should be no spaces in the ‘guide’ column as it is the internal GuideID. The ‘name’ column is what you will see the guide called in your workspace.
You can see in the image below how the question and description will appear.
We recommend keeping your question to 30-40 characters and description to 50-70 characters to ensure it doesn’t take up the entire screen on a mobile device.
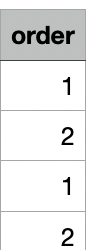
Order will dictate the order in which guide steps are shown. Order the steps from 1 onwards, restarting at 1 when you start a new guide.
Action will dictate what will happen when the customer or service expert checks off the step. You can choose to add a bookmark, take a screenshot, or do nothing.
To add a tag at the moment the step is completed, enter the tag text without spaces in the field provided. Add a comma between tags to add more than one.
You can add an audio, video, or image file by linking to the webpage where it is hosted on its own. Just add the media link in the field provided and indicate whether it is an image, audio, or video in the media type field.
Once you have your CSV filled out, you can upload them by selecting the Upload CSV button under Settings > Guides.

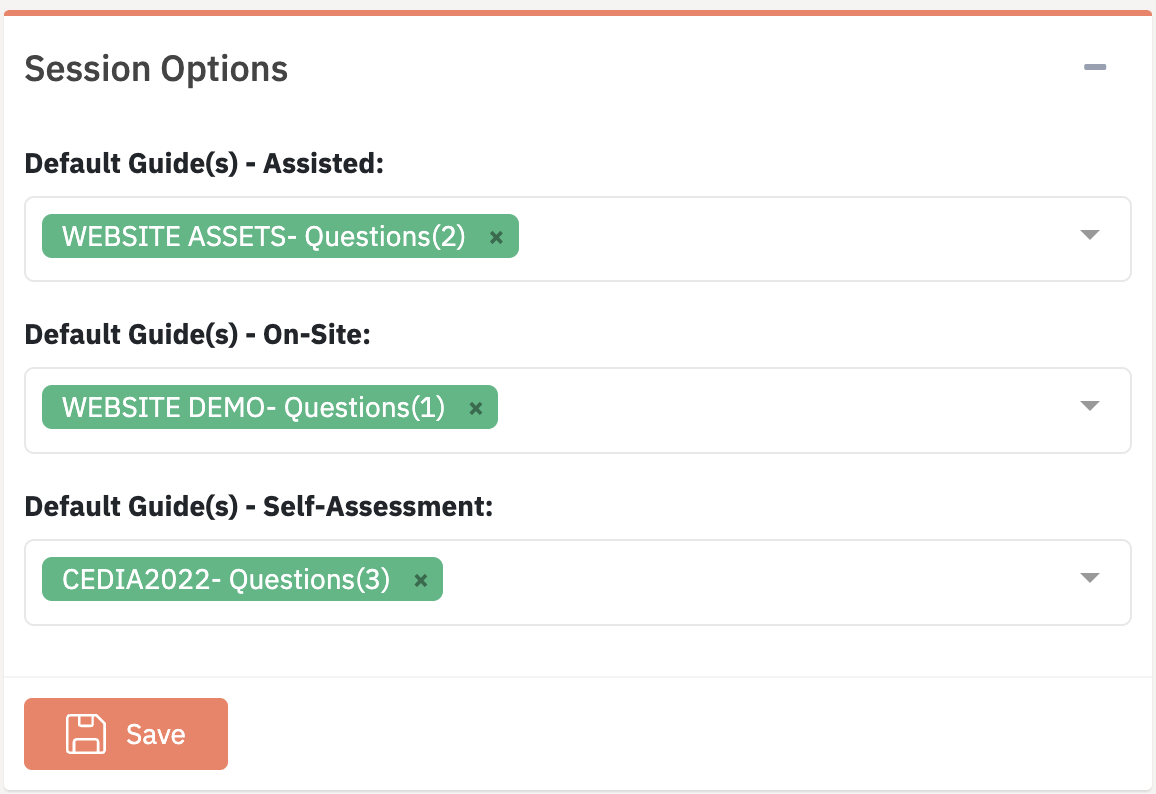
Setting up default guides
You can set up default guides for live, self-assessment, and on-site sessions. Navigate to Settings > General > Session Options and select the default guide(s) you would like to add from the drop down for each category.
Previewing guides in your workspace
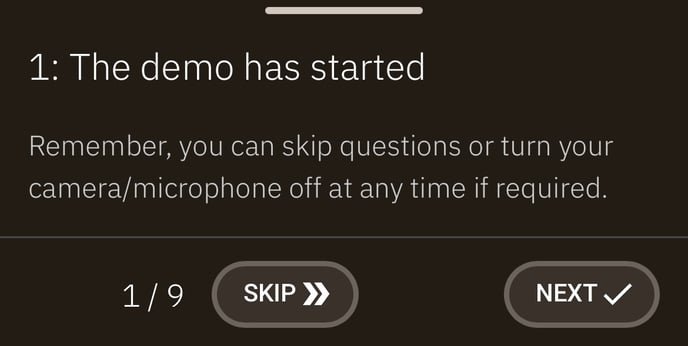
To preview guides like your customer would see them when completing a self-assessment, navigate to Settings > General > Self-Assessment and select the Preview button.
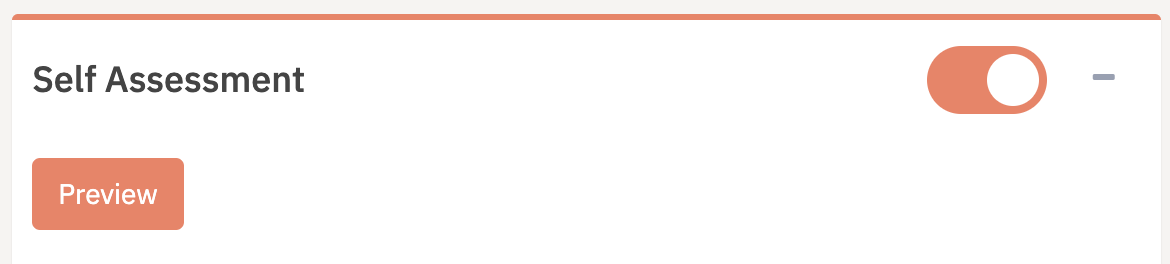
This will take you to sign up for and complete a self-assessment.
If you have any questions about setting up guides in your workspace, contact your Customer Success Manager or email our support inbox.