Table of Contents
2. Creating a Webook URL in MS Teams (Classic)
3. Creating a Webhook URL in MS Teams (New)
What is a Webhook URL?
A Webhook URL is a link provided by an application or service (e.g. MS Teams) that allows other applications (e.g. IrisCX) to send real-time data to it. Essentially, it's an endpoint on the internet that receives incoming messages.
Webhooks are commonly used for integrating various services where real-time data synchronization or actions are necessary, such as notifications systems. They provide an efficient way to achieve real-time, automated interactions between different software systems.
Creating a Webhook URL in MS Teams (Classic Teams)
-
In the Classic Teams client, select Teams
 and navigate to the channel where you want to add an Incoming Webhook.
 -
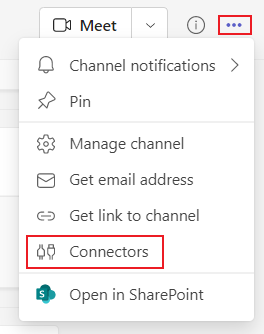
Select More options ••• from the upper-right corner.
-
Select Connectors from the dropdown menu.
-
Search for Incoming Webhook and select Add.
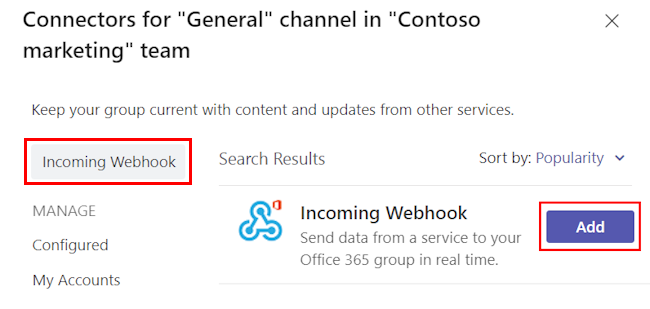
The Incoming Webhook dialog appears.
-
Select Add.

Note
If you’ve already added an Incoming Webhook, the Configure option appears. Select Configure to create an Incoming Webhook.
-
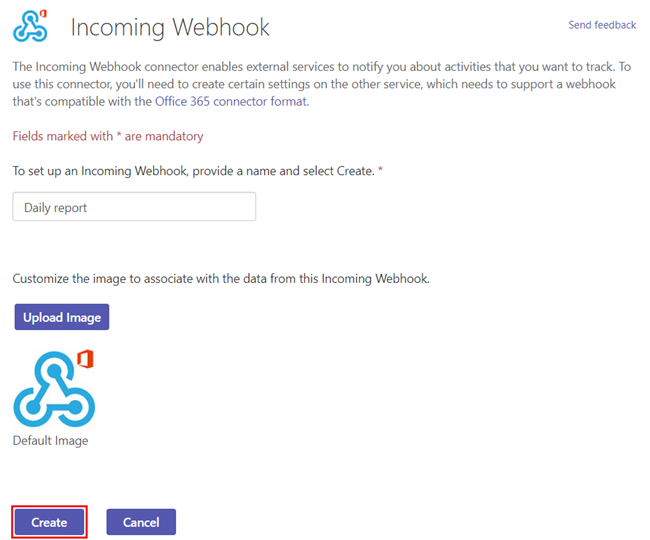
Provide a name for the webhook and upload an image if necessary.
-
Select Create.
-
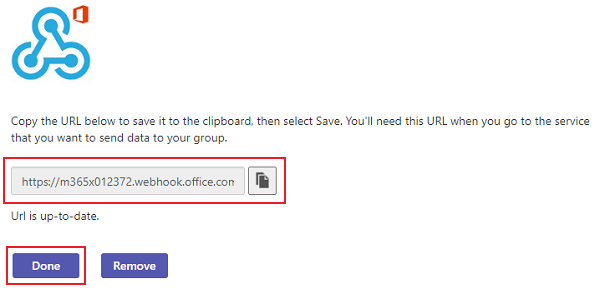
Copy and save the unique webhook URL present in the dialog. The URL maps to the channel and you can use it to send information to Teams.
-
Select Done.
-
-
The webhook is now available in the Teams channel.

Creating a Webhook URL in MS Teams (New Teams)
-
In the New Teams client, select Teams
and navigate to the channel where you want to add an Incoming Webhook. -
Tap on the Expand Channel Details icon at the top right, then Manage Channel

-
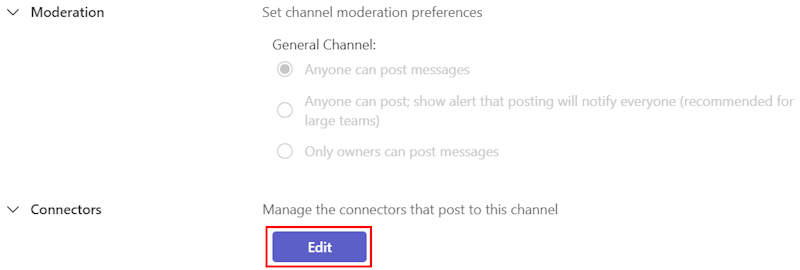
Scroll down to Connectors, then Select Edit.
-
Search "Incoming Webhook"
-
After the Incoming Webhook dialog appears, tap Add.
Note: If you’ve already added an Incoming Webhook, the Configure option appears. Select Configure to create an Incoming Webhook.
-
Provide a name for the webhook (e.g. Iris Alerts) and upload an image (not a requirement).
-
Select Create.

-
Scroll to the bottom and copy the unique webhook URL present in the dialog. The URL maps to the channel and you can use it to send information to Teams.

Select Done. Please share this URL with IrisCX!