Step 1 - Login
In order to do a self-recording, you must be logged in from your mobile device or tablet. Open your web browser (Chrome on Android, Safari on iOS), and log into your IrisCX workspace (https://yourcompany.iriscx.com).

Step 2 - Start a New Session
Press the "New Session" button as if you are creating an IrisCX session with a customer. You are not required to enter a phone number. Just toggle the on-site option to 'on' when launching a session, then hit "Launch Session" to launch the session.

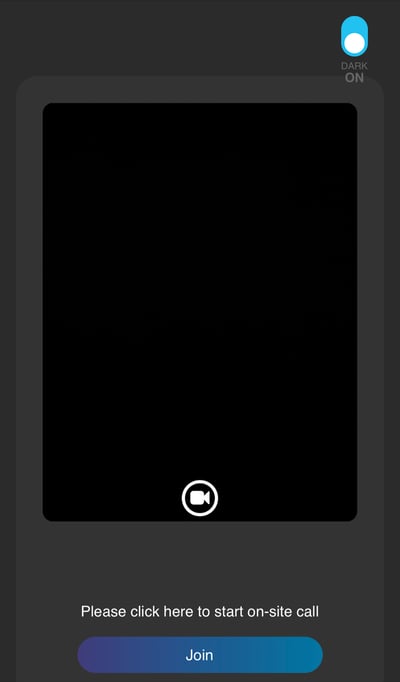
Step 3 - Join With Your Back Facing Camera
When prompted, join the IrisCX call with your Back Facing Camera so you can walk around the worksite.
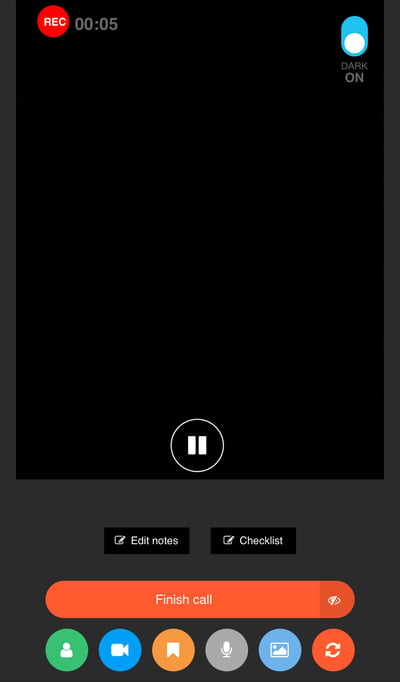
Step 4 - Walk the Job Site and Complete the Call
Once you've joined, even though there is no “customer”, the call is recording. You can complete the walk of the job site and record any information that you need. Once you're finished, press the Finish Session button to end it.
The Result
The IrisCX self-recording will be added to your workspace, just like a normal session. Upon playback, you see the full walkthrough that was conducted. All IrisCX call functionalities such as adding post-call notes and sharing are available on these self-recorded sessions.